Wire It Right.
Once.
6-circuit harness with relays. CNC fork mounts. Crash bar brackets. Helmet mount. Dimmers and toggle panels. Everything you need to wire your LED kit cleanly — no guesswork.
The Complete Install Kit
Everything wired, fused, and ready to bolt on.
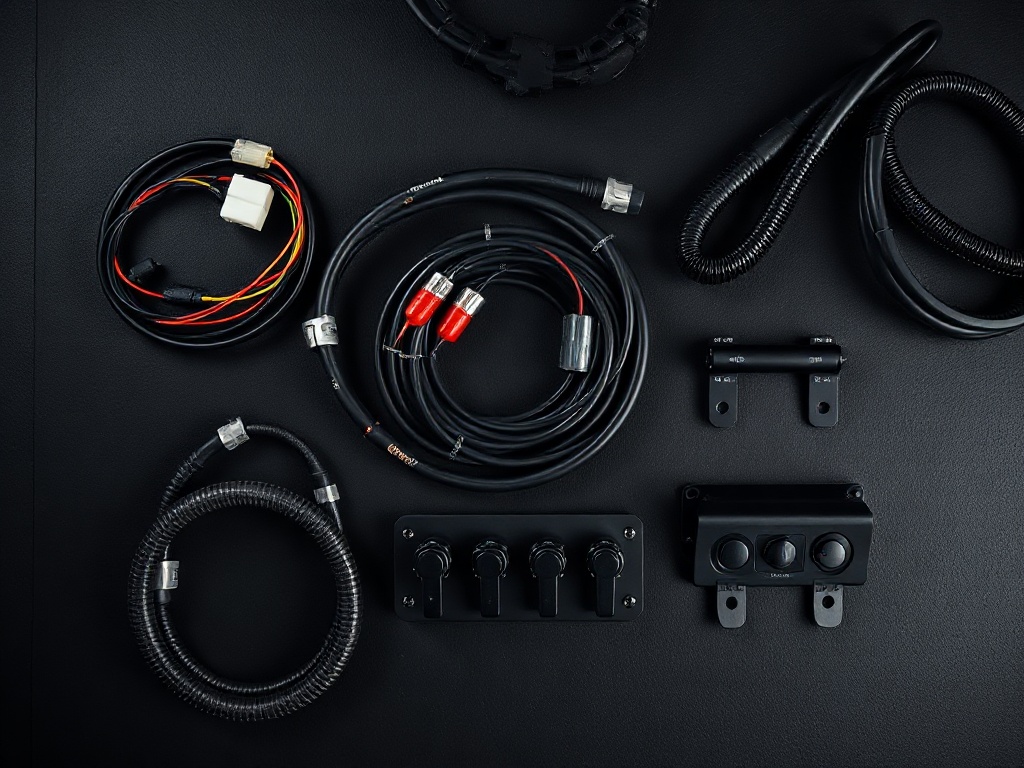
What You're Getting
- 18AWG wire throughout — handles 3A per circuit comfortably
- Blade-type fuse holders with 5A–20A fuses included
- DT sealed connectors — moisture and vibration resistant
- On/off rocker switches for every circuit in the harness
- CNC-machined mounts fit 35–55mm fork diameter range
- Crash bar clamps fit 22–28mm bars — rubber-lined for finish protection
- Helmet bracket uses GoPro interface — works with any GoPro-mount light
See It In Action
Watch the wiring install before you buy.
TikTok install video
Video embed slot — paste TikTok video URL in adminShop by Component
Pick what you need. Add to cart. Wire it right.
- 6 independent circuits, each relay-protected
- Blade fuse holders, 5A–20A fuses included
- 18AWG wire, 2m positive leads
- On/off rocker switch for every circuit
- DT sealed connectors — weatherproof
- Rotary dimmer for LED light circuits
- Fits 22–25mm handlebars
- Built-in LED voltage display
- Waterproof to IP66
- Screws into bar-end weights or direct mount
- 5 backlit rocker switches, 5A each
- Built-in LED pilot lights
- Blade fuses built in
- Surface mount, adhesive or screw
- IP66 front face with waterproof boot covers
- CNC-machined 6061 aluminum
- Adjustable for 35–55mm fork diameter
- M8 stainless hardware included
- Anodized black finish
- Pair — left and right
- Steel cradle clamps for crash bars
- Adjustable 22–28mm bar range
- Rubber-lined to protect finish
- M8 hardware included
- Pair — left and right
- GoPro-style interface — any GoPro-mount light
- Vibration-dampened rubber bushing
- 3M adhesive + optional velcro
- Works on most adventure helmets
- Lightweight — 95g total
How to Install — 6 Steps
You don't need a motorcycle shop. Just wire it clean and take your time.
Plan your circuits
Decide how many lights you're running — auxiliary bar, fork pods, underglow, DRL strips, etc. The 6-circuit harness covers most builds. If you need more, add a second harness or use the dimmer to combine lower-power circuits.
Mount your light bars or pods
Use the fork mount brackets (fits 35–55mm) for handlebar or lower triple-clamp pod lights. Use crash bar clamps for engine guard or crash bar mounting. Helmet bracket sticks to your adventure lid with 3M adhesive — mark the position before you peel.
Run the harness wiring
Route positive leads from battery to each light. Keep wires away from heat sources (exhaust, engine case) and moving parts (swingarm, suspension). Use the zip-ties included to secure every run. The 2m lead length covers most bike configurations.
Connect via DT sealed connectors
Plug each circuit into its light using the weatherproof DT connectors. Route ground wires to a solid frame bolt — clean metal, no paint. Use the blade fuses (5A–20A depending on light wattage) as close to the battery as possible.
Install your switch
For a handlebar dimmer: screw into bar-end weights or use the direct-mount option. For the 5-switch panel: surface mount near the dash or tuck under the tank. Both need a 12V input from the harness relay output — don't run switches on the raw battery line.
Test, then zip-tie and close
Turn on each circuit before buttoning everything up. Check for flicker (means loose ground or bad connector). Once you're satisfied, bundle all excess wire, zip-tie clean, and verify nothing chafes against frame edges or cable bends.
Tools you'll need
- Wire strippers and crimpers
- Electrical tape and zip-ties (harness includes some)
- Basic socket set — M8 for fork mount bolts
- Voltmeter or multimeter for ground checks
- Optional: heat-shrink tubing for weatherproofing
Already have your lights?
Complete the look with an underbody neon kit. 120cm, IP68, 6 colors — mounts in under 30 minutes.
Shop Underglow Kits — $44.99Start Your Install.
Wiring & Accessories — from $19.99. 6-circuit harness sets the foundation. Build from there.
From the community
Trust content coming soon
TikTok and Instagram embeds will appear here once handles are configured.