Flip the Switch.
Take Control.
Toggle switches, kill switches, voltage regulators, accessory connectors, and USB charge ports. IP67 rated, 12V plug-and-play. Control your kit your way.
Everything Under Control
Switches, regulators, and connectors — built for the road.
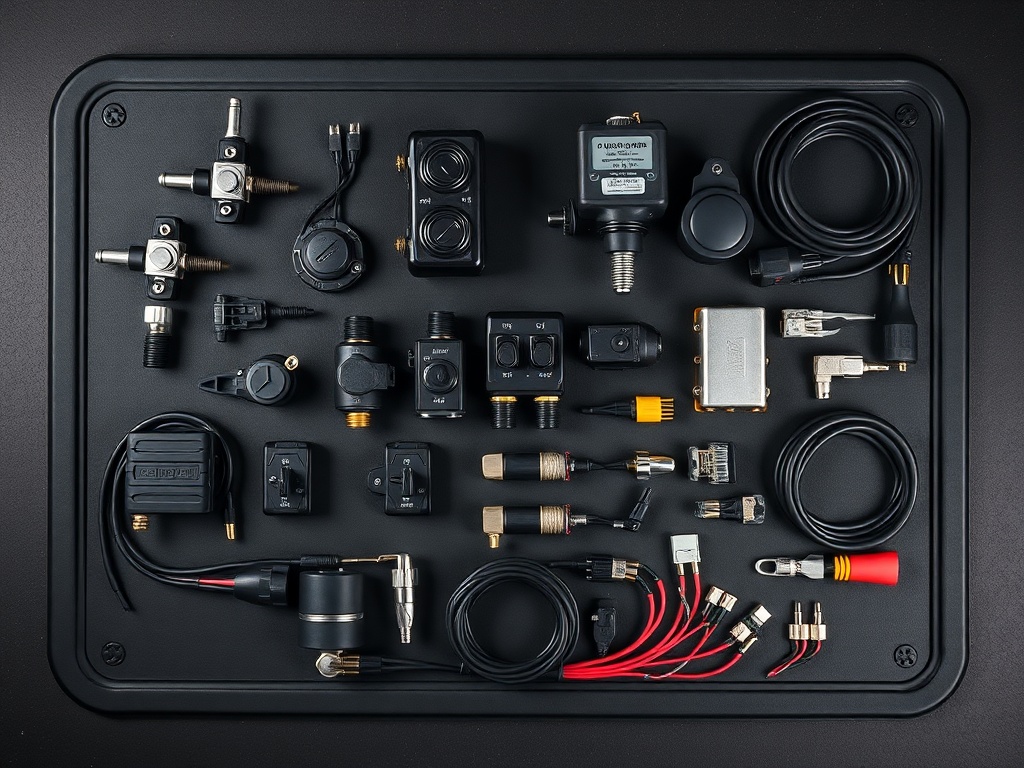
What You're Getting
- Blade-type fuse holders pre-installed on every switch
- DT sealed connectors — vibration and moisture resistant
- Backlit LED pilot lights on every toggle switch
- Rotary dimmers support 0–100% PWM dimming
- USB charge ports support QC 3.0 fast charge
- Voltage regulators step down 12–18V to 5V USB
- Kill switches cut power at the battery — panic stops made safe
See It In Action
Watch the switch install before you buy.
TikTok install video
Video embed slot — paste TikTok video URL in adminShop by Component
Pick what you need. Add to cart. Wire it up.
- 5 backlit rocker switches, 20A each circuit
- Built-in LED pilot lights per switch
- Blade fuses pre-installed (5A per circuit)
- Surface mount — adhesive or screw mount
- IP67 front face with waterproof boot covers
- Rotary dimmer for LED light circuits
- Built-in LED voltage display (6–18V)
- Fits 22–25mm handlebars
- IP67 waterproof — handlebar mountable
- Screws into bar-end weights or direct mount
- Cuts power to all accessories at the battery
- Lanyard-clip activation — panic stop safe
- Fits handlebars, tank mounts, or fairing
- IP67 waterproof housing
- Works with any 12V accessory circuit
- Steps down 12–18V battery to 5V USB-C
- Supports QC 3.0 (18W) fast charge
- Dual USB-C ports — charge two devices
- IP67 sealed module, adhesive mount
- Built-in over-voltage and over-current protection
- 6 male/female DT sealed connector pairs
- Vibration-rated for motorcycle applications
- Moisture seal — IP67 equivalent
- Color-coded for easy circuit identification
- Works with all TorqStack harness kits
- 27W USB-C PD charge port for devices
- Fits 22–25mm handlebars, bar-end mount
- IP67 waterproof with protective cap
- LED status indicator (charging/done)
- 12–18V input compatible
Tech Specs
Detailed specs for every switch and control in the lineup.
5-Switch Toggle Panel
20A per circuit, blade fuse per switch, backlit LED pilot lights, IP67 front face, surface mount 80×50mm, 12V–18V input range.
LED Dimmer Switch
PWM dimming 0–100%, LED voltage display (6–18V readout), 22–25mm bar fit, IP67 waterproof, rotary knob control, bar-end or direct mount.
Emergency Kill Switch
Battery cutoff, lanyard clip activation, IP67 housing, fits bar/tank/fairing mounts, works with any 12V accessory circuit, 10A max load.
USB Voltage Regulator
12–18V input → 5V/3A output, QC 3.0 (18W), dual USB-C ports, IP67 sealed, over-voltage and over-current protection, adhesive surface mount.
Compatible With
- TorqStack 6-Circuit LED Wiring Harness (product/25)
- TorqStack LED Headlights (product/1)
- TorqStack Underbody Neon Kit (product/19)
- Standard 12V motorcycle battery systems
- DT sealed connector standard
- 22–25mm handlebar diameter
How to Wire — 4 Steps
Switches are the last piece of the install. By now your harness and lights should already be wired — this is the control layer.
Run switch power from the relay output
Switches run on the signal side of the relay — NOT the raw battery line. The 6-circuit harness outputs switched 12V to each circuit. Tap into those output wires for your switch control line. Running on the raw battery line bypasses the relay and kills your protection.
Mount your switch panel or dimmer
For the 5-switch panel: surface mount near the dash or tuck under the tank. For the dimmer: screw into bar-end weights or use the direct-mount option. Use the adhesive backing as a secondary hold — don't rely on it as the primary anchor.
Connect ground and signal wires
Route a clean ground wire to a solid frame bolt — clean metal, no paint. Connect the signal wire from each switch output to the corresponding circuit on the harness using DT sealed connectors. Double-check polarity before sealing.
Test, seal, and secure
Turn on each circuit and verify the dimmer responds smoothly across the full range. Check kill switch cuts all power. Test USB ports charge a device. Once satisfied, use dielectric grease on connectors and zip-tie all wire runs clean. Add the voltage regulator inline between battery and USB ports if you need 5V from a 12–18V supply.
Tools you'll need
- Wire strippers and crimpers
- Electrical tape and zip-ties (DT connectors seal with their own locking)
- Multimeter for voltage and continuity checks
- Philips and flat-head screwdrivers for panel mounting
- Optional: dielectric grease for connector weatherproofing
Need the harness first?
Switches need a circuit to switch. Start with the 6-circuit harness — it gives your switches something to control.
Shop Wiring & Accessories — From $19.99Take Control.
Switches & Controls — from $14.99. Toggle, dim, kill, charge. Build the system you want.
From the community
Trust content coming soon
TikTok and Instagram embeds will appear here once handles are configured.